34. Case 30: Adjustable lights
34.1. Introduction
This is an adjustable LED light. We can adjust the brightness of the light through the potentiometer, so that the light is at our most comfortable brightness.
34.2. Quick Start
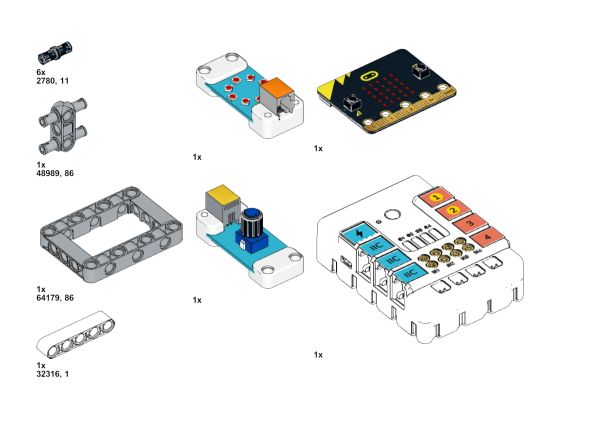
Materials Required
Nezha expansion board × 1
micro:bit V2 × 1
Analog Rotation Potentiometer × 1
Rainbow LED ring × 1
Bricks × n
Tips: You may need to purchase Nezha Inventor’s Kit and Purchase Interactive coding accessories pack here. if you want all the above components.
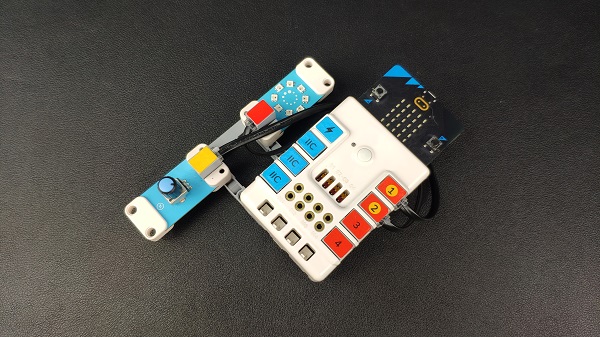
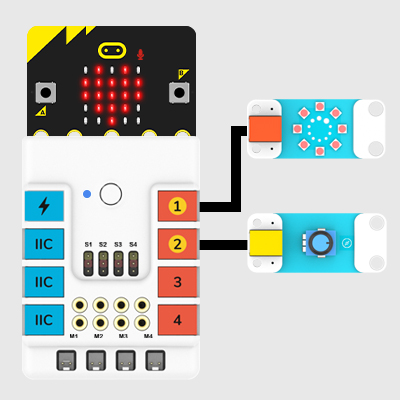
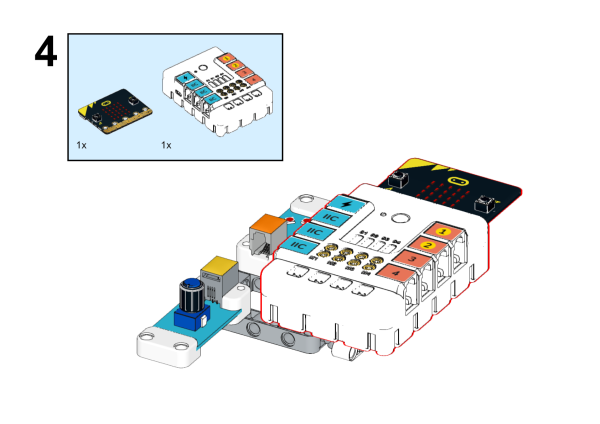
Connection Diagram
Inset the micro:bit, connect the rainbow led ring to J1 port and the trimpot to J2 port on Nezha expansion board.
Assembly Video
Video link: https://youtu.be/IDo75YvbOB8
34.3. MakeCode Programming
Step 1
Click “Advanced” in the MakeCode drawer to see more choices.
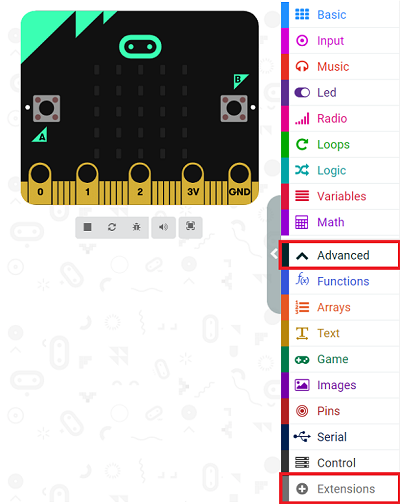
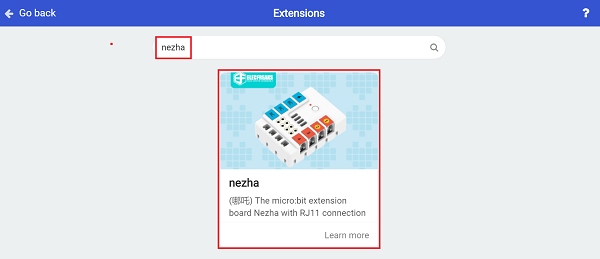
We need to add a package for programming. Click “Extensions” in the bottom of the drawer and search with “nezha” to download it.
Note: If you met a tip indicating the codebase might be deleted due to incompatibility, you may continue as the tips say or create a new project in the menu.
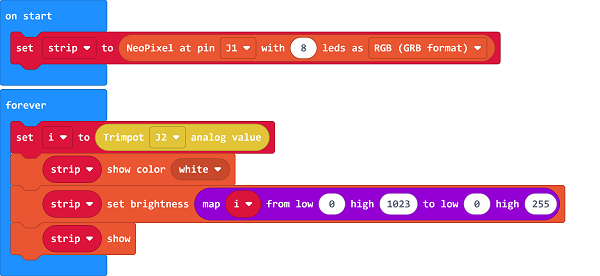
Step 2
Programme as the pictures indicate