1. Kit Introduction
1.1. Introduction
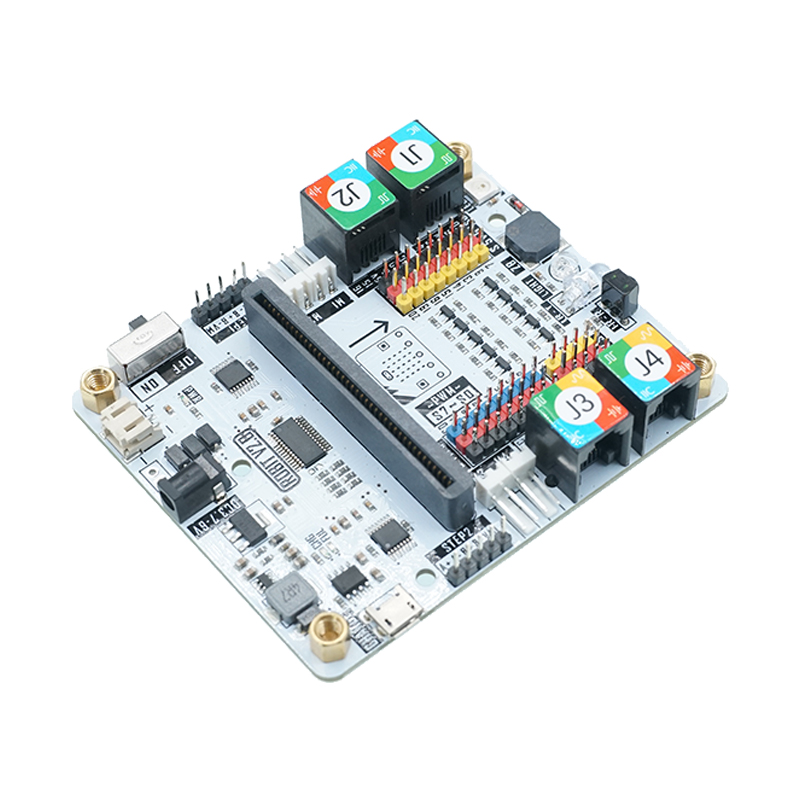
Robit smart car is a kind of smart car which is based on micro:bit and ElecFreaks robit. Besides the RJ25 wiring port and motor port in Mbot, the robit is also equipped with 2-way DC motor connectors , 2-way stepping motor connectors(Stepping motor connectors and 4-way DC motor connectors are multiplexed ) and 8-way PWM signal output connectors. It can drive PWM signal driving devices like servo. It has 8-way G-5V-S digital signal connectors(for connecting with OCTOPUS electric bricks) and 4-way G-5V-S analog signal connectors(for connecting with OCTOPUS electric bricks). Robit can realize all current basic functions of MBOT and it can be regarded as the new generation of Mbot.
Characteristics
- Support 4 channels of DC motor and 2 channels of stepping motors.
- With 8-way PWM signal output connectors.
- With 8-way G-5V-S digital signal connectors(for OCTOPUS electric brick).
- With 4-way G-5V-S analog signal connectors(for OCTOPUS electric brick).
- DC power supply input voltage: DC 3.7V-6V.
- Lithium battery power supply input voltage: DC 3.7-4.2V.
Technical Parameter
- Name:Robit Smart Car
- SKU:EF08195
- Version:V1.0
- Motor Type:TT Motor
- Wheels Number:2
- Line-following:Support
- Sonar:Support
- Power Source:Lithium battery
- Net Weight:426g
- Dimension of Finished Products:170mm X 128mm X 98mm
1.2. Lists of Components
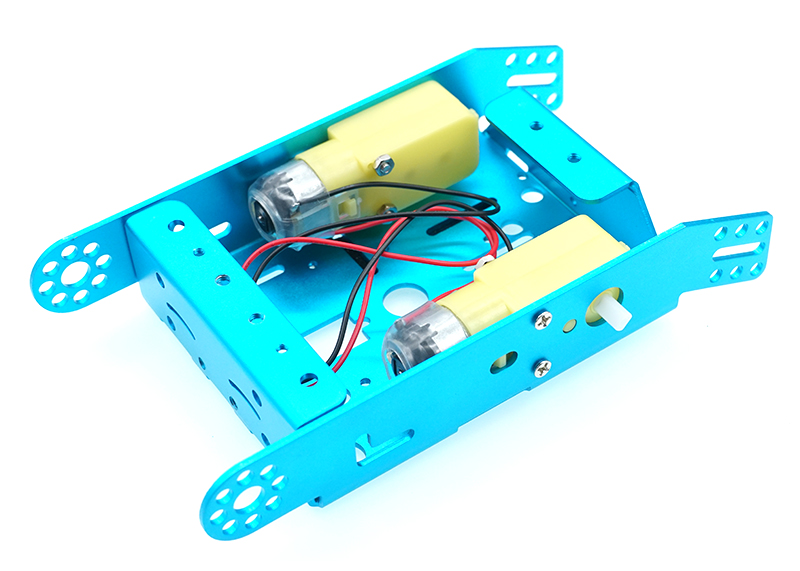
- Chassis x 1
- Robit x 1
- Sonar bit x 1
- Dual Line-following Modules x 1
- TT Motor x 2
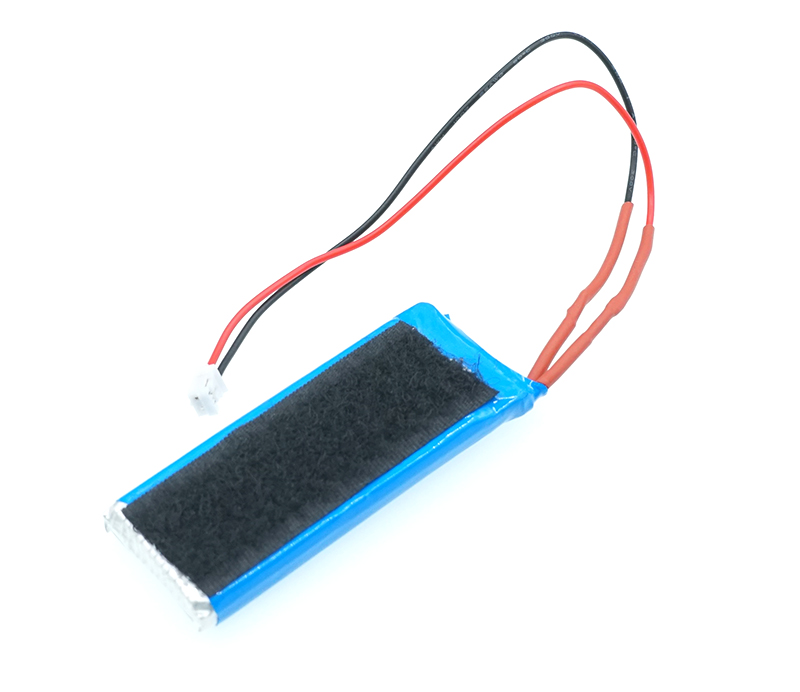
- Batter x 1
- Screws Package x 1
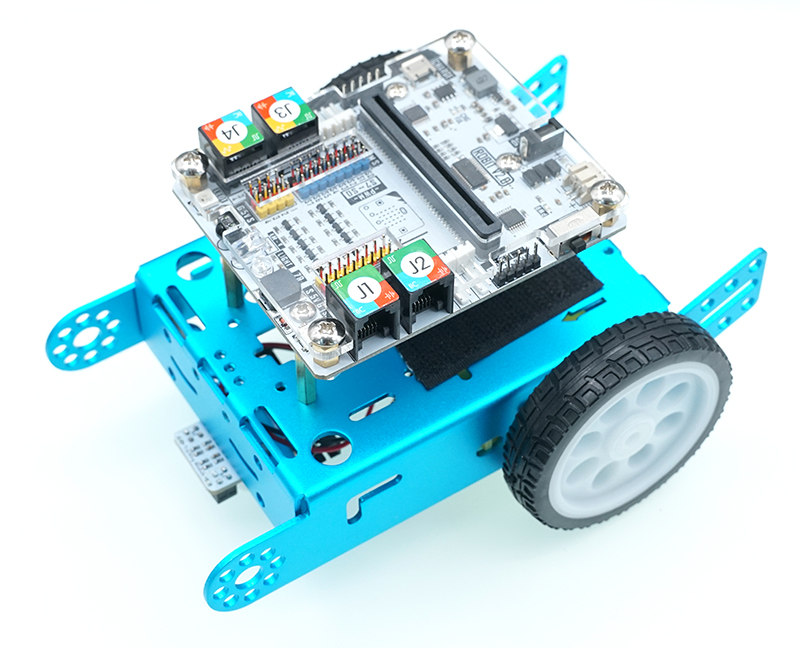
1.3. Diagram for Installment of Chassis
Step 1: Install TT motor with four M3*25 countersunk screws
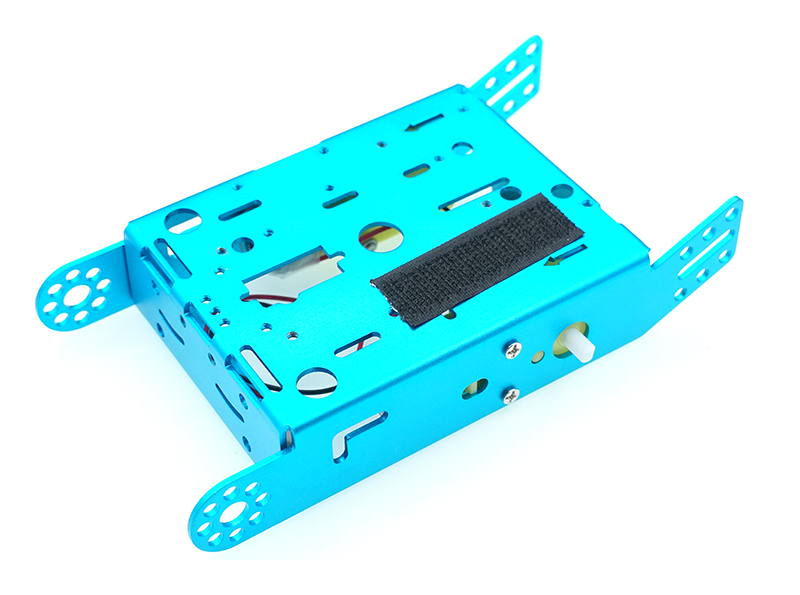
Step 2: Attach the hook side of HOOK & LOOP to the aluminum chassis.
Step 3: Fasten the four 4*6 single-pass coppers with four nuts to the Robit board.
Step 4: Fasten the four M3*30 single-pass coppers on the aluminum chassis.
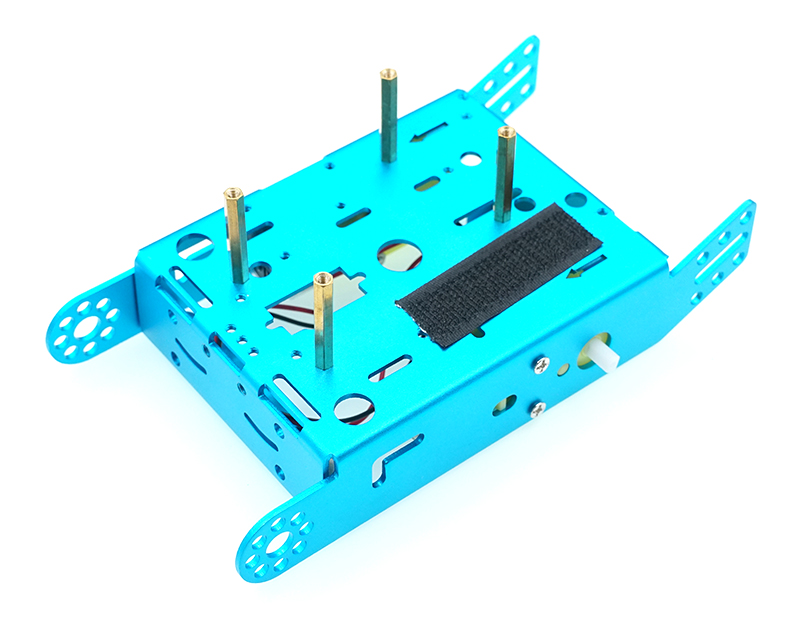
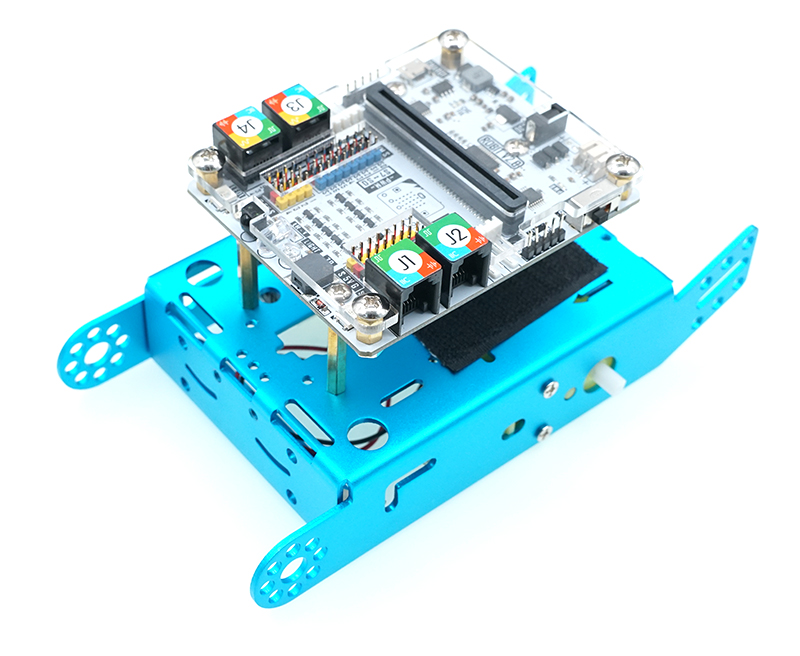
Step 5: Fasten the Robit board with four M3*5 screws to the aluminum chassis.
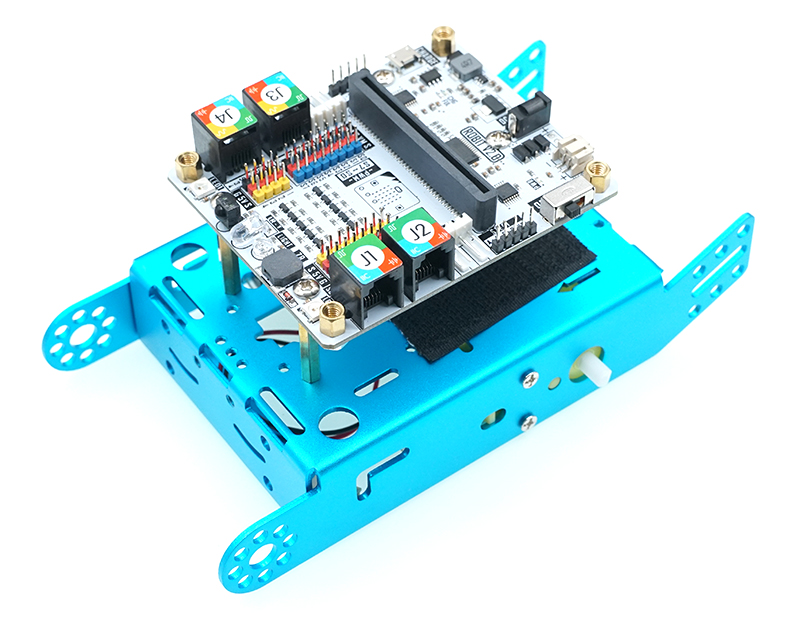
Step 6: Install the Fender with M4*5 screws.
Step 7: Install the universal wheel and line-following module with 2 M4*10 countersunk screws.
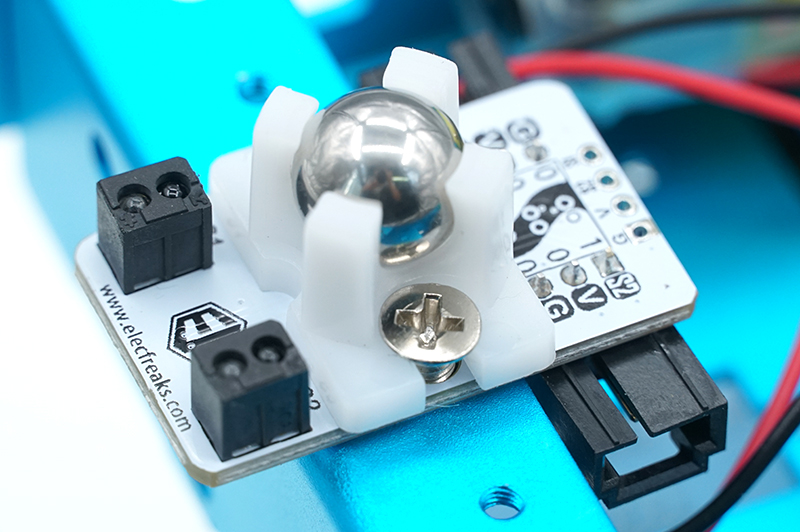
Step 8: Install the wheels.
Step 9: Install 2 M4*6+6 single-pass copper cylinders on the head of the car.

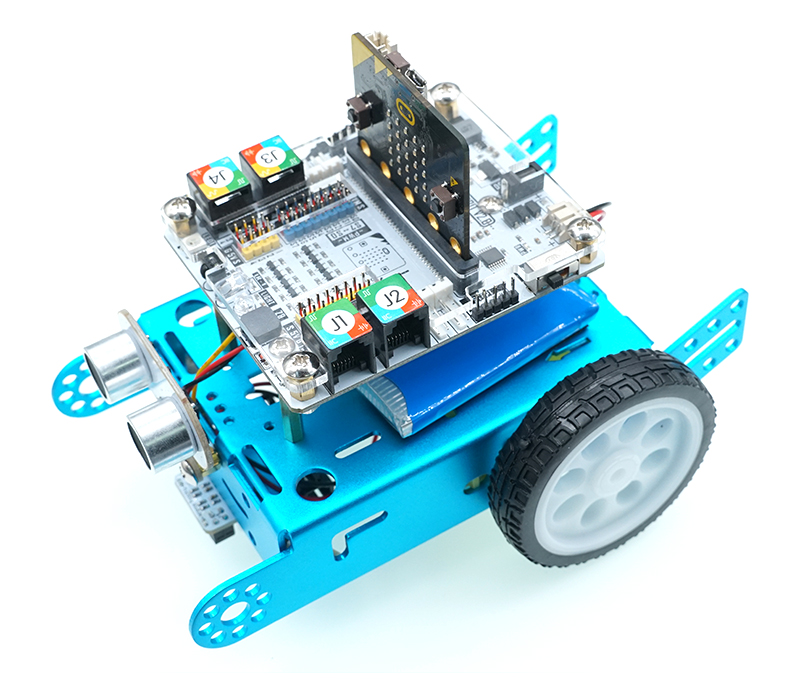
Step 10: Install sonar module with 2 M4*5 screws.

Step 11: Stick the loop side of the Hook&Loop onto the battery.
Finished Products
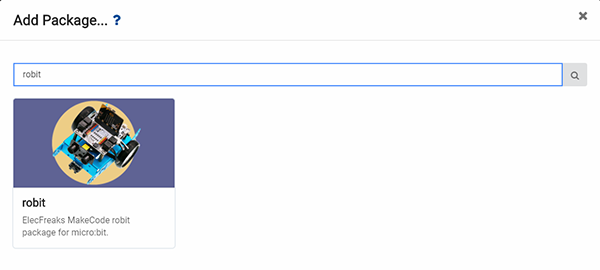
1.4. Sample Code
Click “Add Package” and search with “robit”, then add the robit package.